The feel of soft yarn slipping through your fingers, the gentle click of the hook, and the way a simple strand transforms into something tangible – that’s the joy of crochet. This pattern, affectionately called “Let’s Begin!”, is your very first step into that rewarding world. It creates a lovely, cozy scarf, something you can wrap around your neck on a chilly day or drape over your shoulders. It’s perfect for anyone just starting out, a thoughtful handmade gift for friends and family, or even a simple piece of home decor. We’ll go through everything you need, from picking out the best yarn and hook to adding those final touches that make your project shine. You’ll learn the basic stitches that form the foundation of almost every crochet project. Ready to make your first masterpiece?
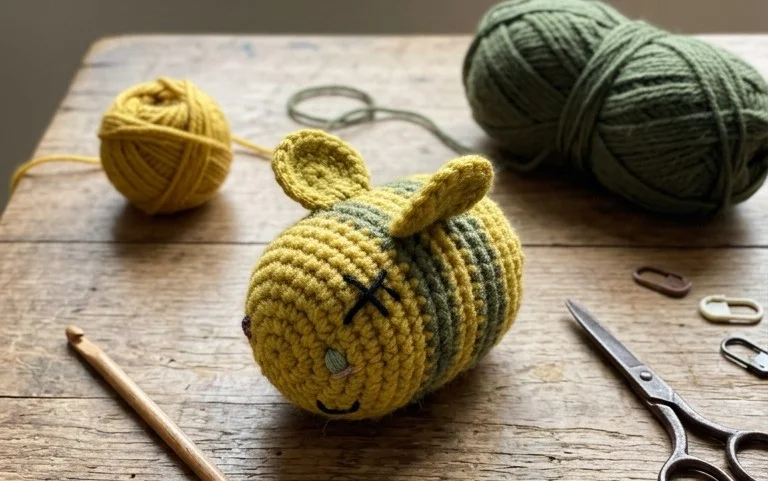
Let’s Begin! Crocheting Your First Masterpiece
The soft drape of a finished crochet piece, the satisfying loop of yarn through hook – there’s a special kind of magic in creating something with your own hands. This pattern, affectionately named “Let’s Begin!”, is designed to be your gentle introduction to that magic. It’s a straightforward project that builds confidence with every stitch, resulting in a lovely, versatile item you’ll be proud to show off. We’re going to walk through everything you need, from choosing the right yarn and hook to finishing your project with care.
Yarn and Hook Recommendations
For this “Let’s Begin!” project, we’re going to focus on yarns that are forgiving and easy to work with, especially for new crocheters.
- Yarn Weight: A worsted weight yarn is your best friend here. It’s not too thin, which can be fiddly, and not too thick, which can hide stitches. Worsted weight yarn has a good balance, making it easy to see your stitches and handle the yarn. Look for yarns labeled “4” or “Worsted” on the ball band.
- Fiber Content: Acrylic yarns are fantastic for beginners. They are widely available, come in a rainbow of colors, are machine washable, and don’t split easily. Cotton blends can also be lovely, offering a nice drape, but pure cotton can sometimes be a bit stiff to work with initially. Avoid fuzzy yarns like mohair or novelty yarns until you’re more comfortable, as they can obscure your stitches.
- Hook Size: With a worsted weight yarn, a hook size of 5.0mm (H-8) or 5.5mm (I-9) is generally a good starting point. Always check your yarn label; it will often suggest a hook size range. It’s best to start with the middle of that range. If your stitches feel too tight, try going up a half size. If they feel too loose and gappy, go down a half size.
It’s a good idea to buy a bit more yarn than you think you’ll need, especially if you’re planning on a larger project. Running out mid-project and not being able to find the exact same dye lot can be frustrating.
Stitch Techniques Used
“Let’s Begin!” keeps things wonderfully simple by focusing on fundamental crochet stitches. Mastering these will open doors to countless other patterns.
- Chain (ch): This is the foundation of almost every crochet project. It’s simply a series of loops made by pulling yarn through a loop on your hook.
- Single Crochet (sc): This is the most basic stitch. It creates a dense, sturdy fabric. You’ll insert your hook into a stitch, yarn over, pull up a loop, yarn over again, and pull through both loops on your hook.
- Half Double Crochet (hdc): This stitch is a bit taller than single crochet and creates a slightly looser fabric with a lovely texture. You’ll yarn over before inserting your hook into the stitch, yarn over again, pull up a loop, yarn over, and pull through all three loops on your hook.
- Double Crochet (dc): This is a taller stitch that works up quickly and creates a nice, airy fabric. You’ll yarn over before inserting your hook, yarn over again, pull up a loop, yarn over, pull through two loops, yarn over, and pull through the remaining two loops.
For “Let’s Begin!”, you’ll primarily use the chain stitch to start and then alternate between single crochet and half double crochet to build your fabric. The specific combination will create the unique texture of this project. Practicing these stitches on a small swatch before you start the main project is highly recommended. Just make a chain of about 15 stitches and practice doing rows of single crochet, then rows of half double crochet, to get a feel for them.
Tips for Beginners
Starting a new craft can feel a little daunting, but we’re here to make it as smooth as possible. These tips will help you navigate “Let’s Begin!” with confidence.
- Tension is Key: This refers to how tightly or loosely you hold your yarn and form your stitches. Inconsistent tension is one of the biggest challenges for beginners. Try to keep your yarn tension steady as you crochet. If your stitches feel too tight, try relaxing your grip a little. If they feel too loose, try holding the yarn a bit firmer. You’ll develop a feel for it with practice.
- Count Your Stitches: It’s essential to count your stitches at the end of each row, especially when you’re starting out. This ensures you haven’t accidentally added or skipped stitches, which can cause your project to warp or taper. A simple stitch marker placed in the first and last stitch of a row can be a lifesaver.
- Don’t Be Afraid to Undo (Frog): Everyone makes mistakes! If you realize you’ve made an error a few stitches back, it’s much easier to carefully pull out those stitches (often called “frogging” because you “rip-it, rip-it”) than to try and fix it later. It’s a natural part of the learning process.
- Learn to Read a Pattern: Crochet patterns use abbreviations for stitches. “Let’s Begin!” will clearly explain each abbreviation. Familiarize yourself with them. Keeping a small cheat sheet handy can be very helpful.
- Take Breaks: Crocheting is relaxing, but holding your hook and yarn for extended periods can strain your hands and wrists. Take short breaks every 30-60 minutes to stretch your hands and fingers.
How to Customize
The beauty of crochet is its adaptability! “Let’s Begin!” is a wonderful starting point for your creativity.
- Colors: This is the easiest way to make the project your own. You can use a single color for a classic look, or get adventurous with stripes. To add stripes, simply join a new color at the end of a row. Cut the old color, leaving a tail of about 6 inches, and then start crocheting with the new color in the last stitch. You can carry yarn ends to the next row to weave in later, or weave them in as you go. Consider color blocking by using two or three solid colors for different sections.
- Sizes: The beauty of this pattern is that you can easily adjust the size. If you want a smaller item, simply work fewer rows. If you want a larger item, work more rows. Remember that the length of your starting chain also dictates the width of the project. For “Let’s Begin!”, you might adjust the starting chain by a few stitches to alter the width. If you’re making something like a blanket, adding more rows will increase the length, and starting with a longer chain will increase the width.
Experimenting with different yarn weights and hook sizes will also naturally change the size and drape of your finished piece, though you’ll need to adjust your starting chain and stitch count accordingly. Always make a swatch first to see how your chosen yarn and hook work together.
Care Instructions for the Finished Piece
Once your “Let’s Begin!” project is complete, you’ll want to keep it looking its best for years to come.
- Washing: For acrylic yarns, a machine wash on a gentle cycle with cool or warm water is usually fine. Check your yarn label for specific instructions. If you’ve used a wool or cotton blend, hand washing is often the safest bet. Use a mild detergent and gently agitate the water.
- Drying: Never put a hand-crocheted item in a machine dryer on a hot setting. The heat can melt acrylic fibers and felt wool. Instead, gently squeeze out excess water (don’t wring!), then lay the item flat on a clean towel, reshaping it to its original dimensions. You can then roll it up in the towel to absorb more moisture, or let it air dry completely on a drying rack or flat surface away from direct sunlight.
- Blocking: This is a finishing step that can make a huge difference in how your finished piece looks. Blocking evens out stitches, opens up lace patterns, and helps the piece lay flat. For acrylics, you can use steam blocking (carefully holding a steam iron a few inches above the fabric and letting the steam penetrate, then pinning it into shape) or wet blocking (soaking the item and then pinning it to shape while it dries).
Proper care ensures your creation remains a cherished item.
Project Ideas
“Let’s Begin!” is a versatile pattern that can be adapted into a multitude of lovely projects. The simple yet pleasing texture makes it suitable for many applications.
- Dishcloths/Washcloths: These are perfect for practicing and you’ll have a useful item in no time. Make a set in coordinating colors.
- Coasters: A few rounds of “Let’s Begin!” in a smaller diameter will make charming coasters for your coffee table. Add a border for a polished finish.
- Baby Blankets: Using soft, baby-friendly yarn and working many rows will create a beautiful, durable baby blanket. You can join multiple “Let’s Begin!” squares for a larger design.
- Scarves: Start with a longer chain for the width and work until the scarf reaches your desired length. Varying the stitch pattern between single and half double crochet can add subtle visual interest.
- Placemats: Similar to baby blankets, but working fewer rows will result in perfectly sized placemats.
- Tote Bags: Create two large rectangles and seam them together. Add straps and you have a simple, sturdy tote.
The fundamental skills you’ll gain with “Let’s Begin!” will empower you to tackle even more complex patterns down the line. Enjoy the process!
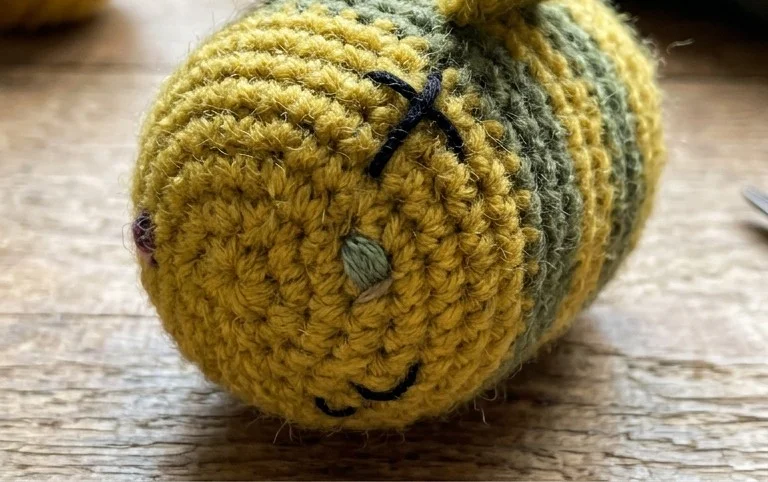
You’ve done it! With your hook and yarn, you’ve created your first crochet scarf. Hold it up, feel the stitches, and know that you made this. This “Let’s Begin!” pattern is just the start. Think about making another one in a different color or perhaps using a chunkier yarn for a quicker make. You could even add fringe for a different look. Don’t forget to share your beautiful work with us online – we love seeing what you create! Keep practicing those stitches, and soon you’ll be ready for even more exciting patterns. Come back soon for your next crafty adventure!